When I swapped a wobbly pendant shade in my own kitchen, it felt a lot like fitting a hat on a moving head, and that tiny job taught me how fast a simple fix can turn risky if you rush. You can change yours safely by cutting power, testing the fixture, checking fit, removing the old shade, and installing the new one with care. A few small details make all the difference, and one of them is easier to miss than you’d think.
Gather Tools and Check Shade Fit
Before you climb up, gather every tool you’ll need and check that the new shade will actually fit your pendant light. You’ll feel calmer when the ladder, cloth, screwdriver, and replacement shade are ready beside you.
Next, compare the fitter size with the lamp opening, because a small mismatch can spoil the whole swap. Also, look at the shade’s height and width so it won’t crowd the bulb or look awkward in the room.
Then think about material choices and color coordination, since glass, fabric, or metal each changes the mood in a different way. If you match the finish to your space, the light will feel like it belongs there.
A quick check now saves frustration later, and it keeps your project moving with confidence and style.
Turn Off Power and Test the Fixture
First, you should turn off the breaker so the pendant can’t surprise you while you work.
Then, test the fixture with the wall switch to make sure the power is truly off, because a quick check now can save you from a nasty shock later.
If you still see any sign of live current, stop right away and recheck the breaker before you touch the light.
Turn Off Breaker
As soon as you’re ready to work on the pendant light, shut off the power at the wall switch and, even better, at the main circuit breaker so the fixture can’t surprise you with a jolt. Find the right breaker placement, then check the circuit labelling if the panel feels crowded. You’re not guessing here; you’re protecting yourself and the people who share the home with you.
| Step | What you do |
|---|---|
| 1 | Open the panel door carefully |
| 2 | Switch the matching breaker fully off |
| 3 | Keep the area calm and clear |
If your panel isn’t easy to read, take a minute and trace the label with care. That small pause helps you stay steady, and it keeps the job in your hands, where it belongs.
Verify Fixture Power
Now that the breaker is off, you still need to prove the fixture is truly dead before you touch a single part. You can do that by checking the wall switch, then reading the electrical labeling so you know you’re testing the right circuit. Use a noncontact tester at the pendant socket and near the canopy, and watch the socket markings for any clues about voltage or bulb type.
If the tester stays quiet, you’re on the right track. Give the switch one more flip, then test again so you feel confident, not rushed. This small pause protects you and keeps the job calm. If anything seems unclear, stop and sort it out before you move on. You’ve got this, and a safe ceiling light change starts here.
Check For Live Current
You’ll want to double-check the power before you touch the pendant light, because a switch can lie to you and a breaker can miss a thing now and then. Flip the wall switch off, then shut off the breaker too.
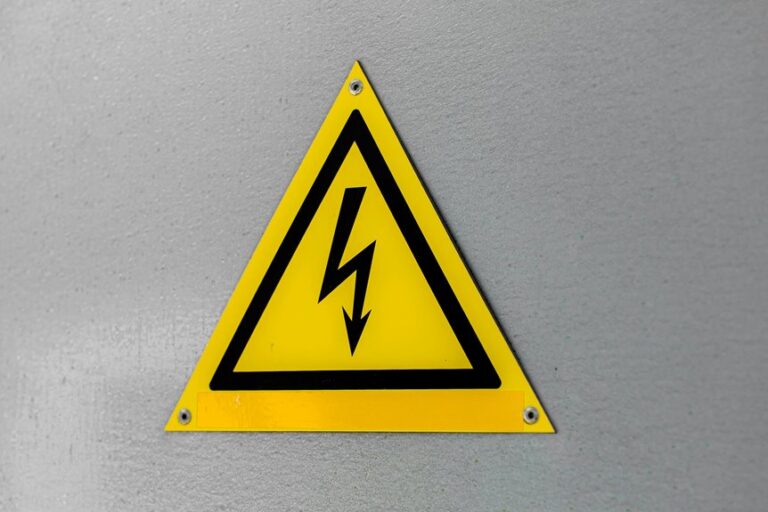
After that, test the fixture with a voltage detection tool, holding it close to the wires and metal parts. If it lights up or beeps, stop right away. Let everyone nearby know with safety signage, so no one turns power back on while you work. You’re not being extra. You’re keeping your hands safe and your project calm.
Once the tester stays quiet, wait a moment and test again. That small pause gives you one more layer of confidence before you remove the shade.
Remove the Old Pendant Shade
Make sure the power stays off before you touch the shade, and let the bulb cool if it was just on.
Then support the shade with one hand so it doesn’t slip or crack while you loosen the retaining ring, collar, or thumb screws.
As you turn the hardware counterclockwise, keep the fixture steady so you can lift the old shade away without stress or surprise.
Turn Off Power
Before you touch the old pendant shade, cut the power at the wall switch and, even better, at the main circuit breaker if you can. Then isolate circuit by flipping the right breaker, and label switches so no one turns it back on while you work.
You’ll feel calmer when the fixture goes dead and the bulb stays dark. If you share the home, tell family or roommates what you’re doing. That small step keeps everyone in the loop and helps them respect the setup.
Wait a minute for the bulb to cool, because warm glass can surprise you. Now you can reach the shade with confidence, knowing the circuit is quiet and your hands are ready for the next move.
Support The Shade
With the power off and the bulb cool, hold the pendant shade with one hand as you start loosening the retaining ring or collar. That steady grip keeps the weight distribution balanced, so the shade doesn’t dip, slip, or crack.
If the shade feels awkward, shift your hand under the base and keep it level while you work. You’re doing this with care, and that matters. A calm hold also helps you keep aesthetic alignment in mind, so the shade stays straight as it comes free.
If the shade is glass, let your fingers wrap it gently, like you’re helping a neighbor carry something fragile. Then, keep the other hand ready to guide the piece down slowly and safely, without forcing anything or letting it swing.
Loosen Retaining Hardware
Now that you’ve got a steady hold on the shade, you can loosen the retaining hardware and let the old piece come free without a struggle.
Check your safety checklist first, then turn the ring, thumb screws, or finial counterclockwise with calm pressure. If it feels stuck, pause and verify thread compatibility so you don’t force the wrong fit.
Keep one hand under the shade as you work, because that extra support helps you and your fixture stay safe. You’re not rushing; you’re making room for the next step.
Set the hardware aside in a small dish so nothing rolls away. If the shade starts to wobble, steady it and try again gently. A little patience here keeps the whole change smooth, and you’ll feel right at home with the process.
Choose the Right Replacement Shade
Choosing the right replacement shade starts with fit, because a beautiful shade won’t help if it doesn’t sit safely on your lamp. Measure the fitter size, harp opening, and bulb clearance, then compare them with the new shade before you buy.
Next, think about material finish, since glass, fabric, and metal each change the light in a different way and set a different mood. You’ll also want mounting compatibility, so the shade works with your lamp’s ring, clip, or spider fitting without forcing anything.
If your room feels calm and cozy, choose a softer finish. If you want a brighter, cleaner look, pick something crisp. When the details match, you’ll feel like the shade belongs there, and so will the light.
Install the New Pendant Shade
Before you hang the new pendant shade, take a calm moment to get the fixture ready. Clean the harp or socket area so dust won’t get in the way, then hold the shade with both hands. Lift it straight into place and center it so it sits evenly.
Next, thread the retaining ring or collar by hand, turning it clockwise until it feels snug. Don’t force it; a gentle fit keeps the shade secure and helps your pendant look polished.
As you settle it, imagine how it’ll soften your ambient lighting and add warm decorative accents to the room. If the shade has a seam, turn it toward the back for a tidy finish. With each small step, you’re making the space feel more like home.
Check Clearance, Stability, and Bulb Fit
With the new shade in place, take a close look at the space around it so you know it can sit safely and work well. Do a quick clearance mapping from the bulb to the shade and from the shade to nearby walls, shelves, and furniture. You want airspace on every side, so heat can move out and the fixture won’t feel cramped. Then check stability by gently nudging the shade; it should stay steady, not wobble or tilt.
| Check | What to look for |
|---|---|
| Clearance | No touch points |
| Height | Safe hanging level |
| Balance | Even on all sides |
| Bulb fit | Matches the socket |
| Heat room | Air can circulate |
Next, confirm bulb compatibility with the shade’s opening and shape. If the bulb sits too close, swap in a smaller one. That little fix can save you from a hot, awkward surprise.
Frequently Asked Questions
How Do I Know if My Pendant Light Uses a Fitter or Collar?
Check how the shade attaches: fitter models slide over the socket or harp, while collar styles align with threaded rings or use thumb screws. Measure the relevant parts and choose the matching component.
Can I Change the Shade Without Removing the Entire Pendant Fixture?
Yes. If the fitter or collar permits, you can replace the shade without taking down the entire pendant fixture. Turn the circuit off, support the shade while you work, and use temporary solutions only when all components fit and fasten securely.
What Should I Do if the Retaining Ring Is Stuck?
If the retaining ring is stuck, apply a penetrating lubricant around the joint and allow it to soak for several minutes. Warm the area gently with a heat gun or hair dryer to expand the metal, then use work gloves and a pair of snap ring pliers or the appropriate removal tool to apply steady, even pressure until the ring moves. If it still will not budge, stop and consult a professional to avoid damaging the part.
Are LED Bulbs Better for Pendant Shades Than Incandescent Bulbs?
Yes. LEDs generally outperform incandescent bulbs for pendant shades because they emit much less heat and use far less energy. Choose LEDs with good color rendering index and confirm they are compatible with your dimmer switch to avoid issues. Pick the correct color temperature for the mood you want and you will get better efficiency and similar or improved light quality.
How Often Should Pendant Light Shades Be Cleaned or Replaced?
Clean pendant light shades at least once every three months, and replace them when you see material deterioration such as fading, hairline or full cracks, or when fittings become loose and cannot be tightened safely. Regular inspections prevent dimming caused by accumulated dust and ensure fixtures remain secure.